|
Putting It All Together Start
Overview Modeling Molecules Animating the Reaction Setting the Stage Making Glass Mixing Chemicals Animating the Camera Animating Precipitation Putting It All Together 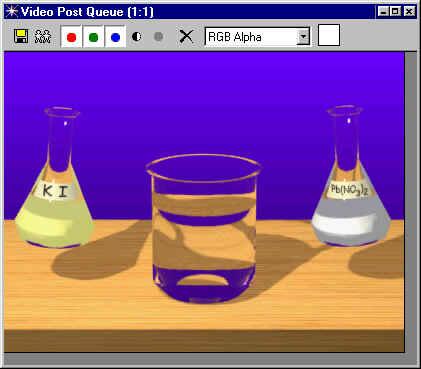
|
|
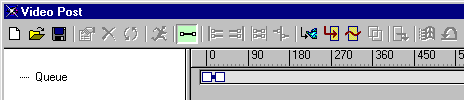
In this lesson, you will combine all three animations - ChemPour.avi, ChemReaction.avi, ChemPrecipitate.avi -- into one file. Choose File > Reset. Choose Rendering > Video Post. The Video Post dialog box appears:
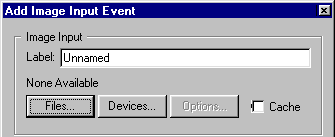
In the Add Image Input Event dialog box, click Files. Navigate to ChemPour.avi and click Open. Then click OK. ChemPour.avi appears in the queue.
In the same way, add ChemReaction.avi and ChemPrecipitate.avi to the queue.
Place your cursor over the blue range bar for ChemReaction.avi. Drag the bar to the right until the left end of the bar aligns with the right end of the bar above it. Then do the same for the ChemPrecipitate.avi range bar. The final result should look like this:
Here is how the queue should look when you are done. Note that it is alright if the range bars overlap slightly. What you want to avoid is having gaps between them, which will result in blank frames being inserted into your animation.
The program rapidly combines the frames from each of the three animations into a single animation file. Watch the file "play" as the frames are added to the sequence:
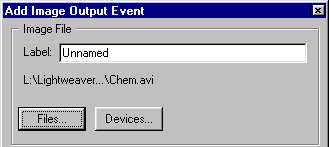
When the process is finished, close all the dialog boxes and choose File > View File. Open Chem.avi and watch the final animation. Congratulations on a job well done!!!!!!! |