|
Animating the Camera Start
Overview Modeling Molecules Animating the Reaction Setting the Stage Making Glass Mixing Chemicals Animating the Camera Animating Precipitation Putting It All Together 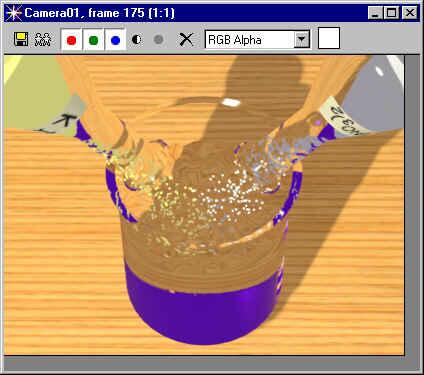
|
|
Animating the Camera Start
Overview Modeling Molecules Animating the Reaction Setting the Stage Making Glass Mixing Chemicals Animating the Camera Animating Precipitation Putting It All Together
|
|
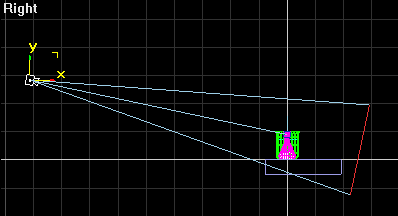
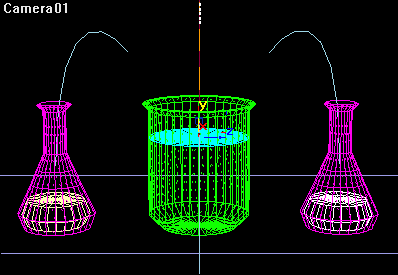
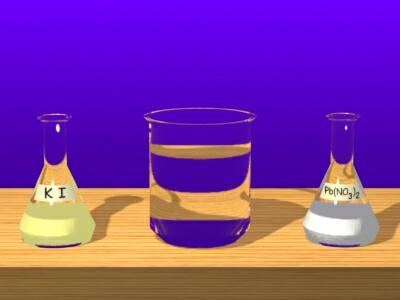
In this lesson you will animate the camera flying toward the beaker and plunging down to the water. Open Mix.max and resave it as Camera.max. Start by selecting the camera:
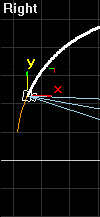
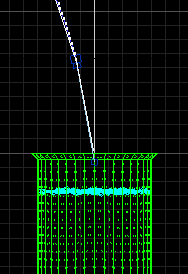
In the right viewport, create an arc that extends across the scene from the top of the beaker to a point beneath the camera:
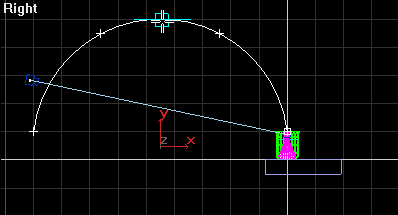
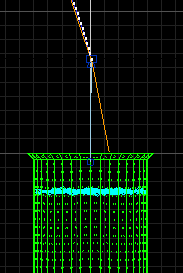
Apply an Edit Spline modifier to the arc. Select the vertex beneath the camera and click Make First:
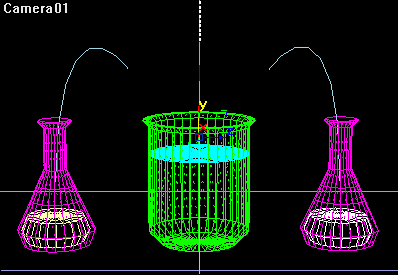
Assign the camera a path controller, as you did with the two flasks. Assign the arc to the camera's path:
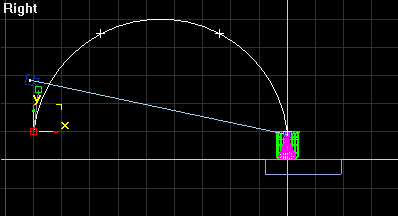
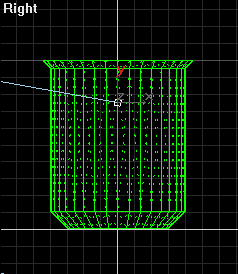
Turn on the Animate button. At frame 0, set % Along Path to 10. At frame 300, set % Along Path to 95:
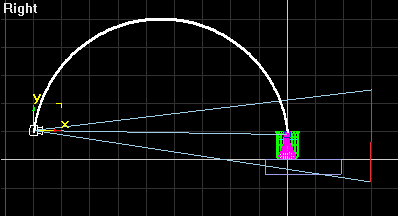
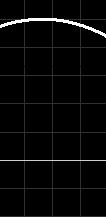
At frame 300, the center of the water surface and of the beaker appear to be out of alignment:
To
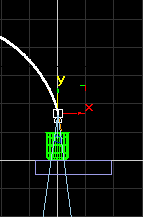
fix this, first make sure that the camera target is located on the
world Z-axis, i.e. that its X and Y coordinates are each set to 0.
The view at frame 300 now looks aligned:
If the view from frame 0 looks a little low:
Adjust the camera target downward so that you view the scene from a higher perspective:
The view from frame 0 now looks like this:
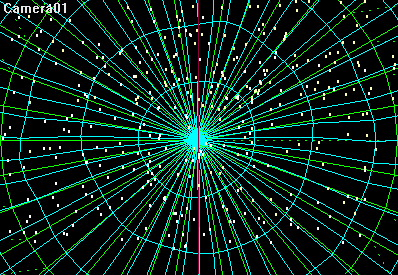
The view from frame 175 should look like this:
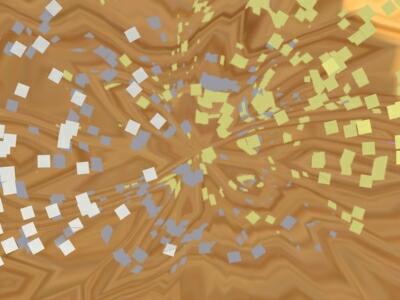
The view from frame 300 should look like this:
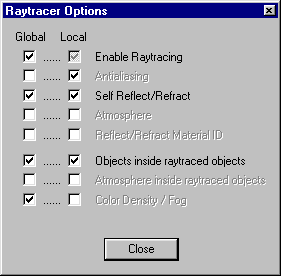
If any of your views are unsatisfactory, open the file Chem.max and examine the location of the camera, target and path. If these, or any other objects still do not suit you, merge the counterparts of those objects from Chem.max into your scene for closer comparison. Save your scene. Rendering the Animation Before we render the animation at full size, we will do a test render to check for problems: Open the Material Editor and select one of the Raytrace materials. In the Raytracer Controls, click Options. In the Raytracer Options dialog box, turn off Global Anitaliasing. Then click Close:
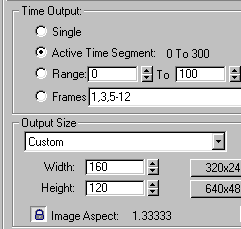
Set the time output to Active Segment and set the Output Size to 160 x 120:
Click the Files button. Name the file Test and choose the AVI file type. Click Save. In the Video Compression dialog box, choose Microsoft Video 1 and Compression Quality 75 and click Save:
Make sure the camera view is active and then click Render. The scene renders at 160 X 120. When it is done, review the animation by choosing File > View File and selecting Test.avi. If there are any problems, now is the time to fix them. When you are ready to do a final rendering, make sure that your computer will be free for a day, or overnight. Then do the following:
Congratulations! You have completed the most difficult part of the animation. Next you will animate the precipitation. |
10/6/00 Michele Matossian