|
Animating Precipitation Start
Overview Modeling Molecules Animating the Reaction Setting the Stage Making Glass Mixing Chemicals Animating the Camera Animating Precipitation Putting It All Together 
|
|
Animating Precipitation Start
Overview Modeling Molecules Animating the Reaction Setting the Stage Making Glass Mixing Chemicals Animating the Camera Animating Precipitation Putting It All Together
|
|
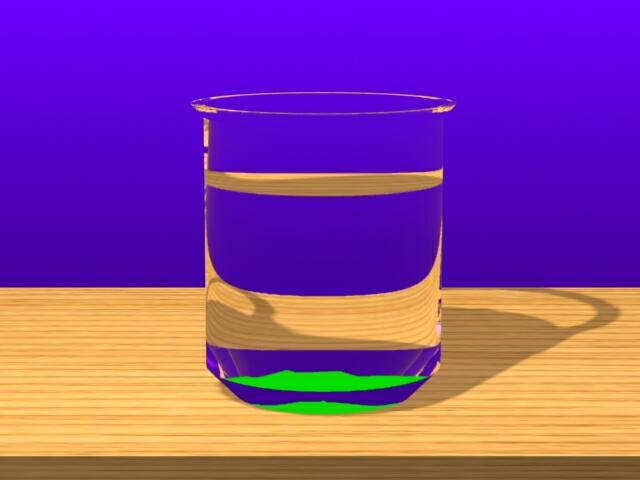
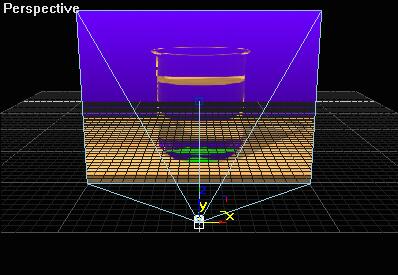
In this lesson, you will create a simple particle and camera animation that shows lead iodide precipitating from the aqueous solution of potassium iodide and lead nitrate. To expedite the rendering, you will create a background plate and insert it in your animation file. Creating the Background Plate Open Mix.max and resave it as Background.max. Delete everything but the table, the beaker, the lights and the water. Then create a camera that gives you a close up view of the beaker. For this view, I used a 135mm lens:
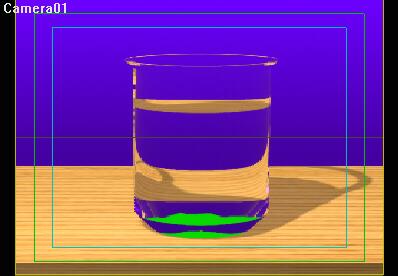
In the bottom of the beaker, create a short cone to represent the lead iodide precipitate. Match the edge of the cone to the bottom of the beaker. Give the cone extra segments and apply a Noise modifier to make the surface of the cone irregular:
Enable the global antialiasing option for raytrace materials. Then render out a large, high-resolution image to use as a background plate, such as an 800 x 600 or 640 x 480 pixels BMP file:
Save the image as Background.bmp. Then save the scene and reset the program. Setting up the Camera and Screen Save the new scene as Precipitate.max.
Close the Render dialog box. In the front view, right-click on the Front viewport label and enable Show Safe Frame. Then create a plane in the front view using the keyboard entry method that has:
Open the Material Editor and select the first sample slot. Set Self-Illumination to 100%.
Click the Diffuse map button and choose the Bitmap map type. Select
Background.bmp and turn on The map is rendered in the viewport on the surface of the plane:
Next, create a target camera in the Top viewport. Right-click on the Move tool. Using the Move Transform Type-In dialog box, select and move the target to (0, 0, 0). Then select and move the camera to (0, -484, 0):
The camera cone of view aligns to the edges of the plane:
Type C to activate the camera view. If the camera is aligned properly to the plane, the projected image will fill the live (yellow) area of the safe frame:
Animating the Precipitation In
the Create panel geometry drop-down list, choose Particle systems.
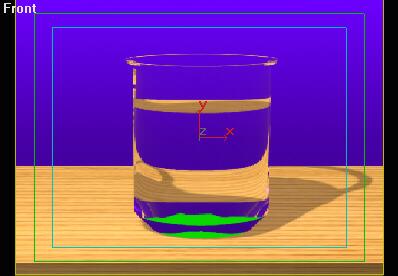
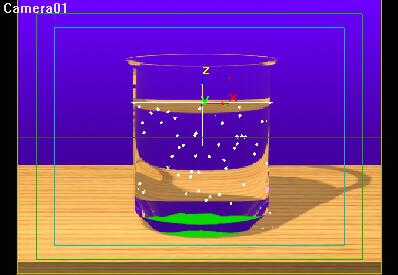
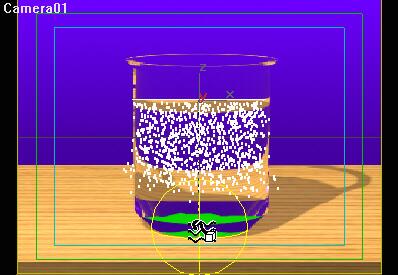
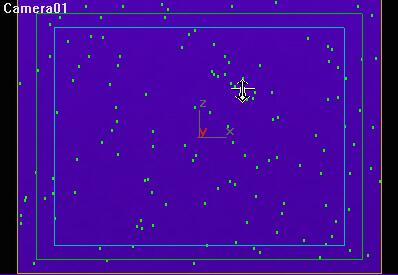
In the Front viewport, drag an emitter that surrounds the surface of the water in the background image:
Rotate the emitter -90° in X. Then drag the time slider to the right to see the snow fall:
Name the snow Precipitation. Give it a bright green color to represent the precipitating lead iodide. Then match the parameters to these:
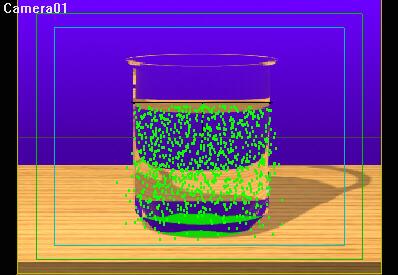
The precipitation now falls abundantly until it reaches the bottom of the beaker:
Next, open the Create/Space Warp panel:
In
the modify command panel, change the gravity force to spherical.
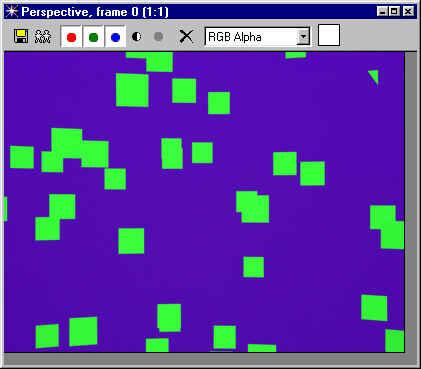
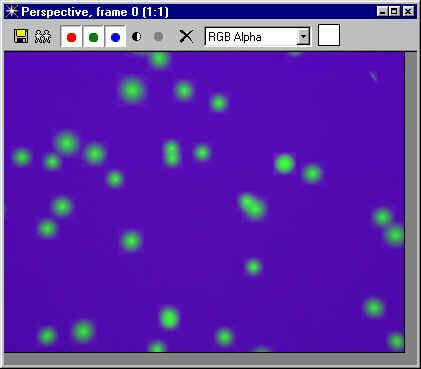
The precipitiation now follows the gravity space warp and stays within the edges of the beaker. But when you render it up close, the particles look too hard edged:
To soften the edges of the particles, create a basic material. In the Blinn Basic Parameters rollout:
Animating the Camera
Play the animation. The particles should travel from the top of the water to the bottom of the beaker for 200 frames without straying outside the edges. The particles continue to fall after the camera stops for another 100 frames. Next, fine-tune the movement of the camera so that it slows down gradually before stopping.
Close the Camera01: Position dialog box.
Set the Output size to 320 x 240. Set the time output to Active Segment. Click the Files button. Name the file ChemPrecipitation and choose the AVI file type. Click Save. In the Video Compression dialog box, choose Microsoft Video 1 and Compression Quality 100:
Click OK, Save, and close all dialog boxes. Save your scene.
To view the finished output, choose File > View File and open ChemPrecipitate.avi. Watch the particles precipitate in the beaker. |
10/6/00 Michele Matossian