![]()
Creating a Contour Style
Establish contour settings for a surface and save the settings in a contour style file.
Before you begin, install Dataset25.exe into the ..\AOTC\LDDT2 directory.
| 1. |
| 2. | Restore the view named Plan. |

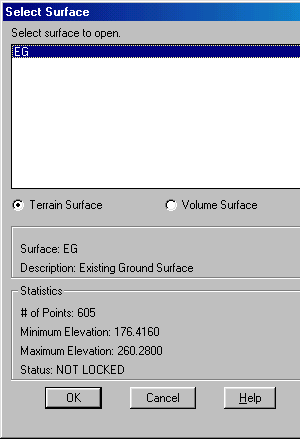
| 3. | From the Terrain menu, select Set Current Surface. The Select Surface dialog box appears. |
- Under Select Surface To Open, select EG.
- Click OK.
| 4. |
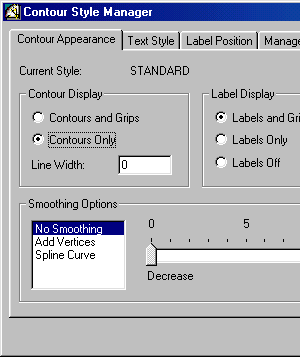
From the Terrain menu, click Contour Style Manager. The Contour Style Manager dialog box appears. |
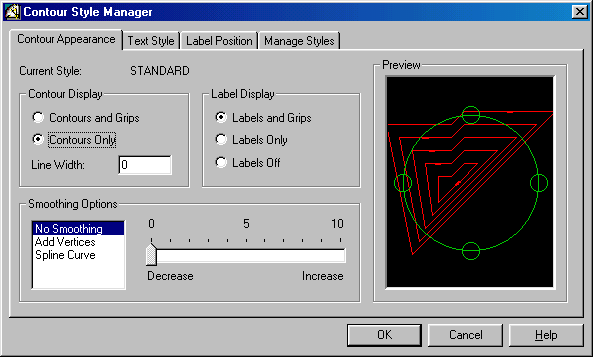
- On the Contour Appearance tab click and verify that the settings
match the image at right:
- On the Text Style tab click and verify that the settings match the image
at right:

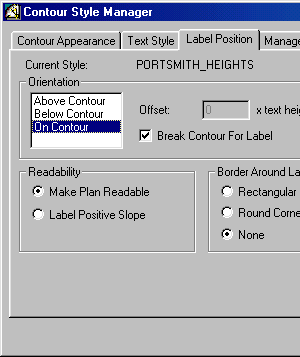
- On the Label Position tab click and verify that the settings
match the image at right:
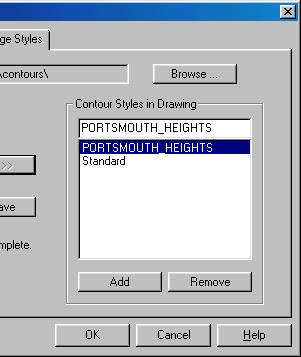
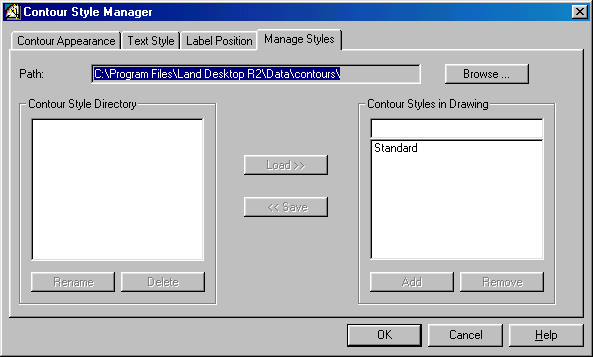
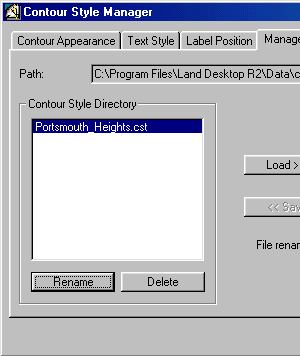
- On the Manage Styles tab click and verify that the settings match the image below:
| 5. | Save a contour label style to the Contour Style Directory: |
- Select the Standard style. On Contour Styles, in Drawing group click on Standard.
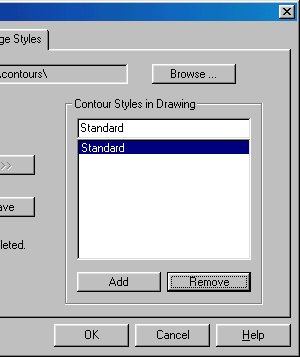
- Click the <<Save button. The Contour Style Manager copies the Standard.cst contour style file to the Contour Style Directory list.
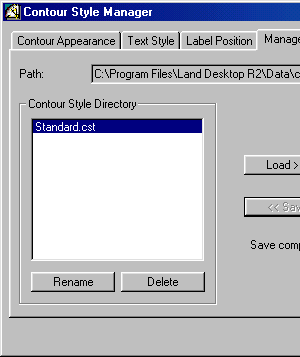
- Click Rename. The Rename a Contour Style dialog box appears.
- For the file name type Portsmouth_Heights .
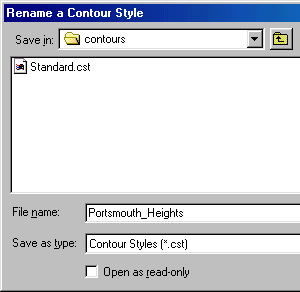
- Click Save. The dialog box closes and the Contour Style Manager dialog box reappears. In the Contour Style Directory, the style Standard.cst has been renamed Portsmouth_Heights.cst .
- In the Contour Style Manager dialog box, click Load>> to copy
Portsmouth_Heights.cst from the Contour
Style Directory to the Contour Styles in Drawing list. - Click OK. The style Portsmouth_Heights is now associated with your
drawing.
| 6. | Save as 99050_tp1.dwg . |